Introduction
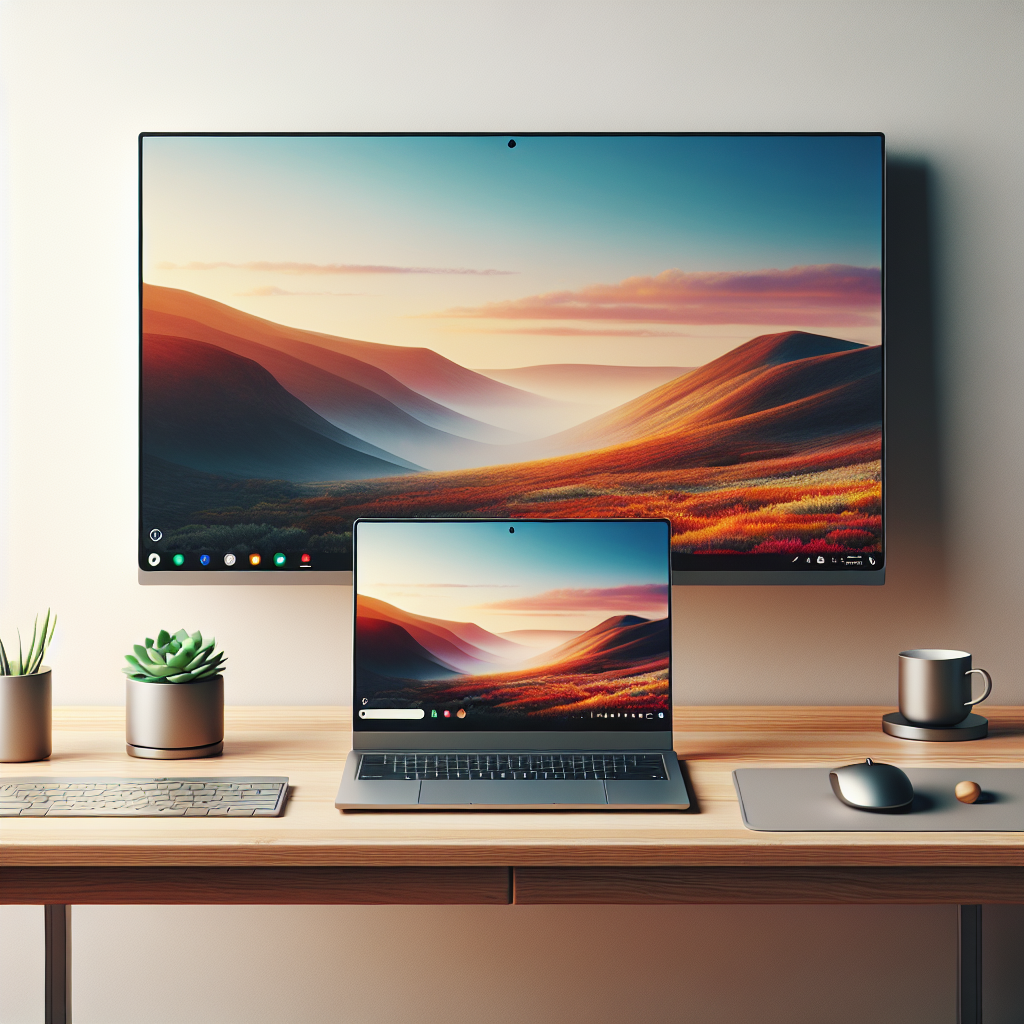
In today’s digital age, maximizing workspace efficiency is crucial. One way to achieve this is by using a second monitor. If you own a Chromebook, you’re in luck! This guide will walk you through the steps on how to use a Chromebook as a monitor, ensuring enhanced productivity and a seamless user experience.
Why Use a Chromebook as a Monitor?
Before diving into the steps, it’s essential to understand the benefits of using a Chromebook as a second monitor:
- Increased Productivity: Having a second screen helps in multitasking efficiently.
- Cost-Effective: Instead of purchasing an additional monitor, use your Chromebook.
- Portability: Easily move your second monitor (Chromebook) around as needed.
- Added Flexibility: Enhance your workspace setup without investing in new equipment.
Prerequisites
Before starting, ensure you have the following:
- A Chromebook: Fully charged and updated to the latest version.
- A primary computer: Either a Mac, Windows PC, or another device that you want to extend.
- Wi-Fi Connection: Both devices should be connected to the same network.
Using Chrome Remote Desktop
One of the most efficient ways to use your Chromebook as a second monitor is through Chrome Remote Desktop. Follow these steps:
Step-by-Step Guide
- Step 1: On your primary computer, visit the Chrome Remote Desktop website.
- Step 2: Click on “Access My Computer” and follow the prompts to set up the remote access. You might have to install the Chrome Remote Desktop extension.
- Step 3: Once set up, you’ll get a code. On your Chromebook, open Chrome and then visit the same website.
- Step 4: Click on “Access My Computer” and enter the code you received from your primary computer.
- Step 5: You’ll see your primary computer’s screen on your Chromebook, allowing you to use it as an extended monitor.
Using Deskreen
Another excellent method to use your Chromebook as a monitor is through the Deskreen application. Here’s how:
Step-by-Step Guide
- Step 1: Download and install Deskreen from Deskreen’s official website on your primary computer.
- Step 2: Open Deskreen and follow the setup instructions to get a QR code.
- Step 3: On your Chromebook, open the Chrome browser and go to the web address shown on Deskreen or scan the QR code.
- Step 4: Confirm the connection on your primary computer.
- Step 5: Choose whether you want to mirror or extend your screen.
- Step 6: Your Chromebook will now function as an extended screen.
Using HDMI/USB-C Connection
If your Chromebook and primary computer both support HDMI or USB-C connections, you can directly use these ports to extend the display:
Step-by-Step Guide
- Step 1: Connect your Chromebook and primary computer using an HDMI or USB-C cable.
- Step 2: On your primary computer, go to the display settings.
- Step 3: Select the option to extend the screen to the connected device (Chromebook).
- Step 4: Adjust the display settings as needed to ensure optimal resolution and orientation.
Setting Up Dual Monitors
After setting up your Chromebook as a monitor, consider these tips for an effective dual-monitor setup:
Optimize Your Workspace
- Arrange Monitors: Place monitors at eye level to reduce strain.
- Manage Cables: Use cable organizers to prevent clutter.
- Use Monitor Stands: Ensure both screens are at the same height for consistency.
Software and Apps
- Window Management Tools: Utilize tools like PowerToys for Windows or Magnet for Mac to manage multiple windows efficiently.
- Keyboard Shortcuts: Learn essential shortcuts to quickly move between screens.
Conclusion
Using a Chromebook as a second monitor is a game-changer for productivity and workspace optimization. Whether you choose Chrome Remote Desktop, Deskreen, or a direct HDMI/USB-C connection, each method offers unique benefits and usability. By following this guide, you’ll effortlessly transform your Chromebook into a valuable secondary display.
